Oru Replenish user guide
Use Oru Replenish to turn your demand assumptions and supplier details into an inventory purchasing plan. Start with suppliers and product settings, then review suggested quantities and your budget before placing an order externally.
Download the illustrated user guide · Try sample data · Get support
1 Connect and review inventory
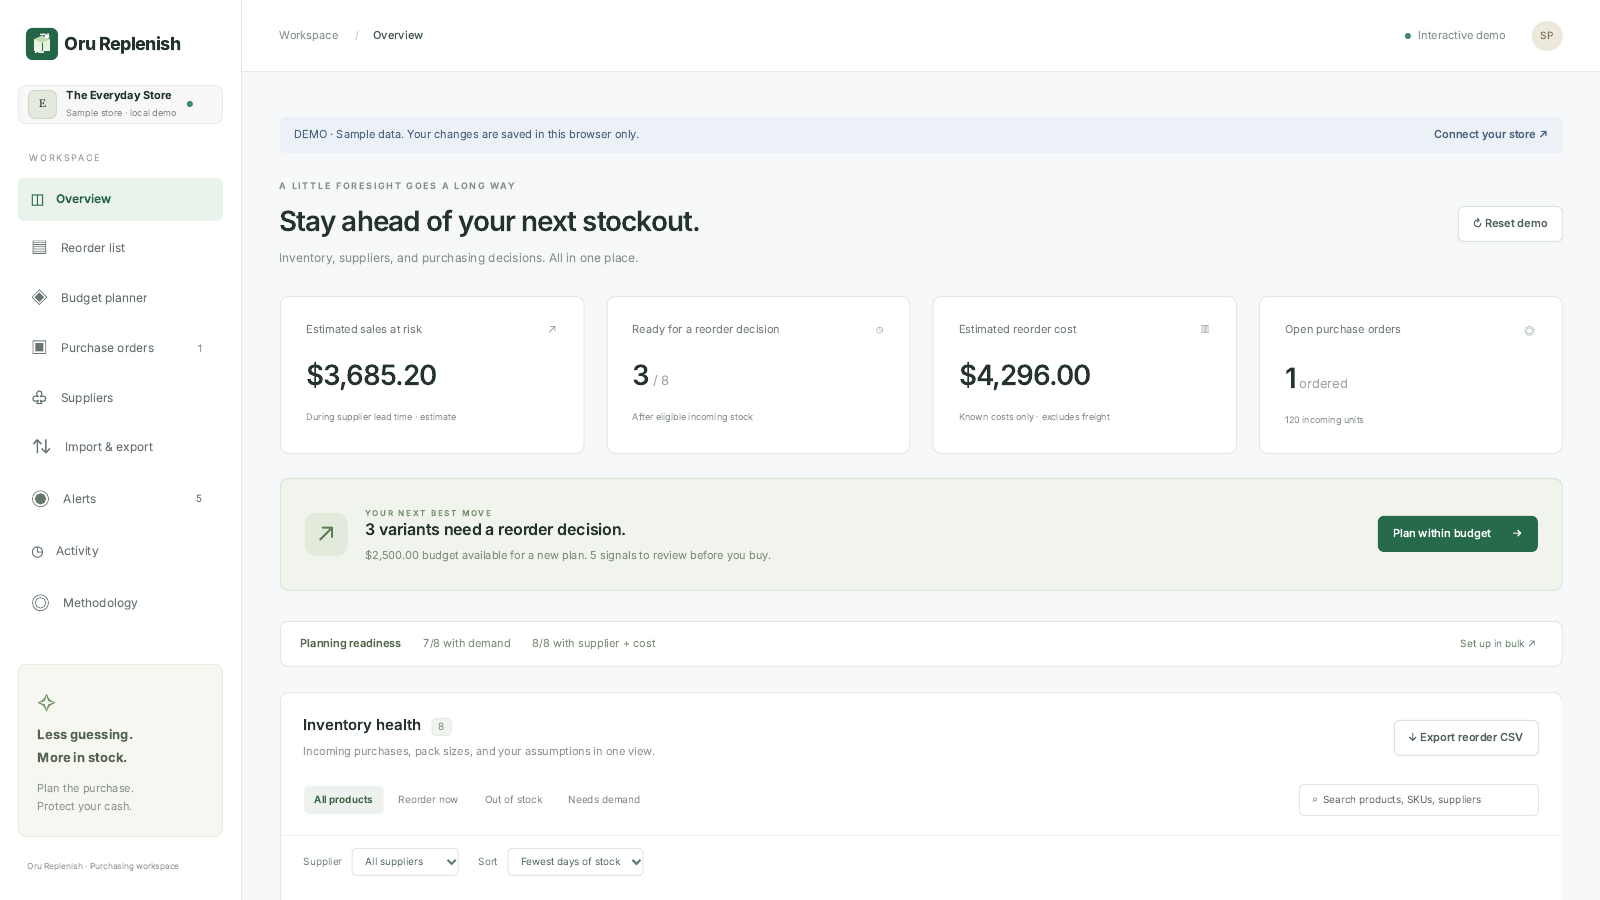
Install through Shopify, approve read-only product and inventory access, and open the app inside Shopify admin. The Overview screen shows active variants across locations, stock coverage, estimated sales exposure, and incoming purchases. Free supports 50 active variants; Pro supports 5,000.
2 Add your suppliers
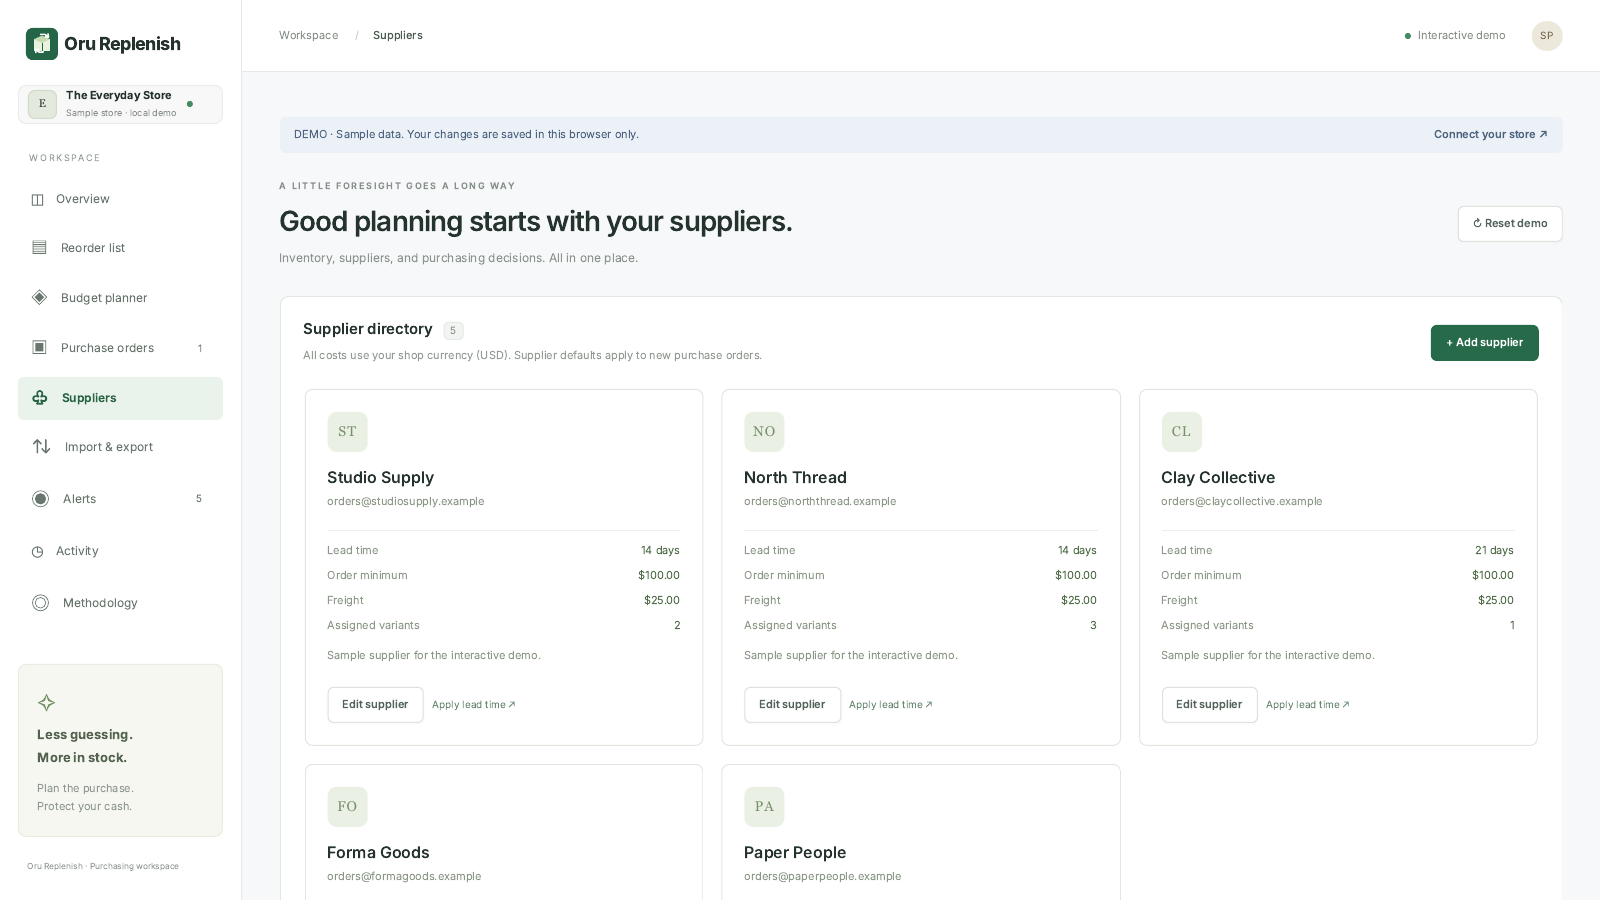
Open Suppliers and choose Add supplier. Enter the contact, default lead time, minimum merchandise order value, freight per purchase order, and useful notes. Saving does not contact the supplier. Use Apply lead time to copy that supplier's default to assigned product rules.
3 Set expected demand and purchasing constraints
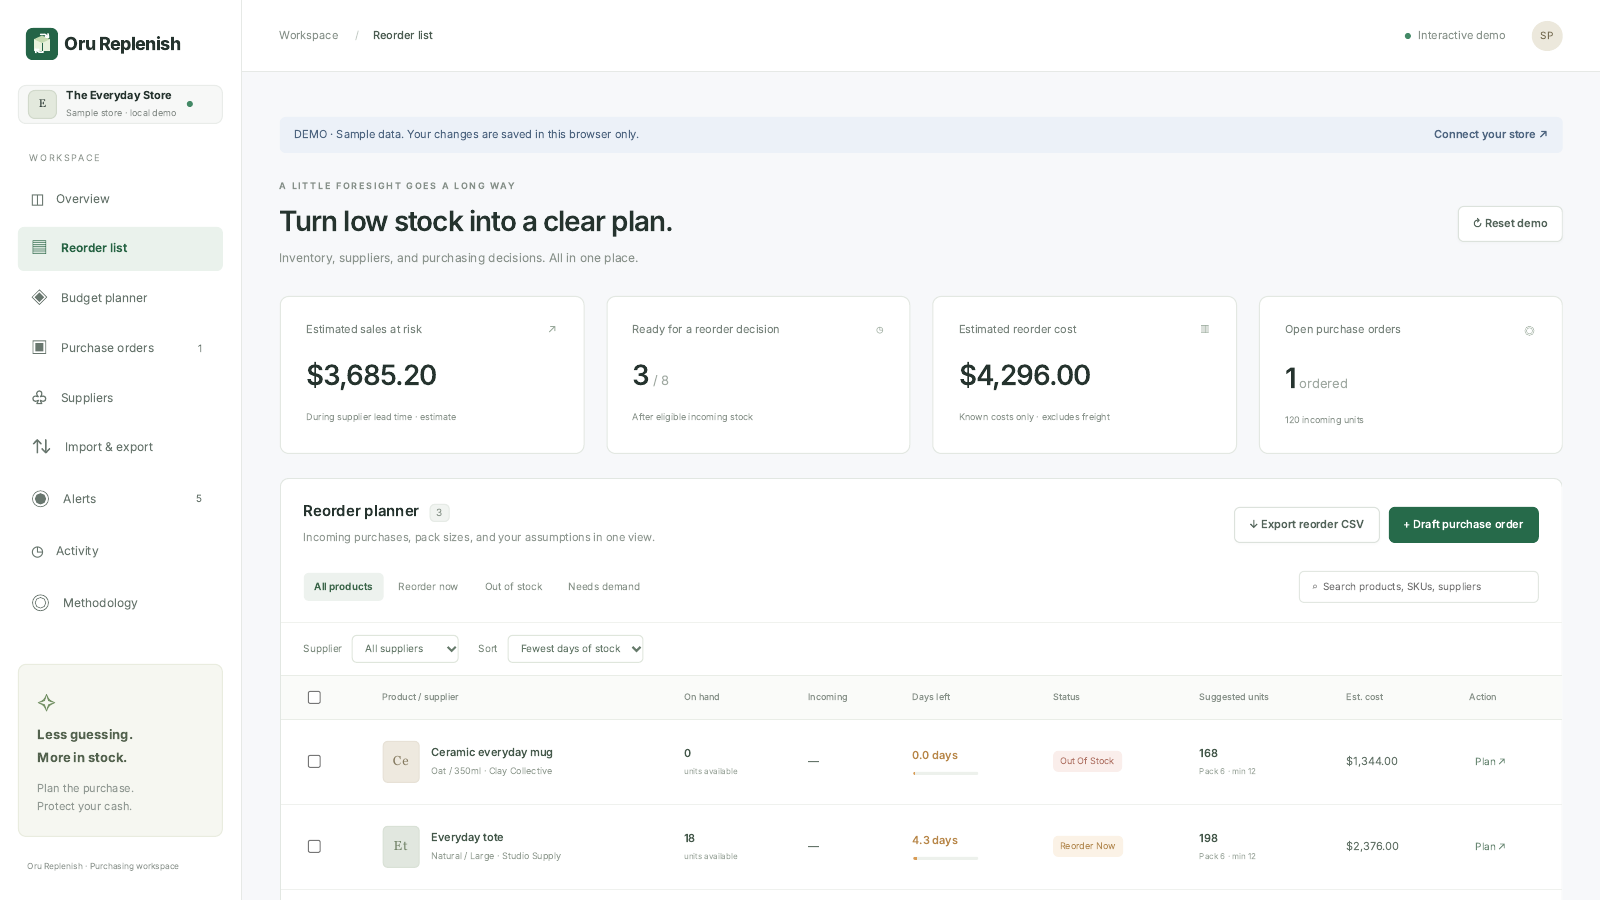
Choose Plan beside a product. Enter expected units sold per day, lead time, safety buffer, and target coverage. Add unit cost, minimum units, pack size, and supplier. Zero demand means there is no demand-based forecast. Costs and supplier assignment are required for the budget shortlist.
4 Build a shortlist within a budget
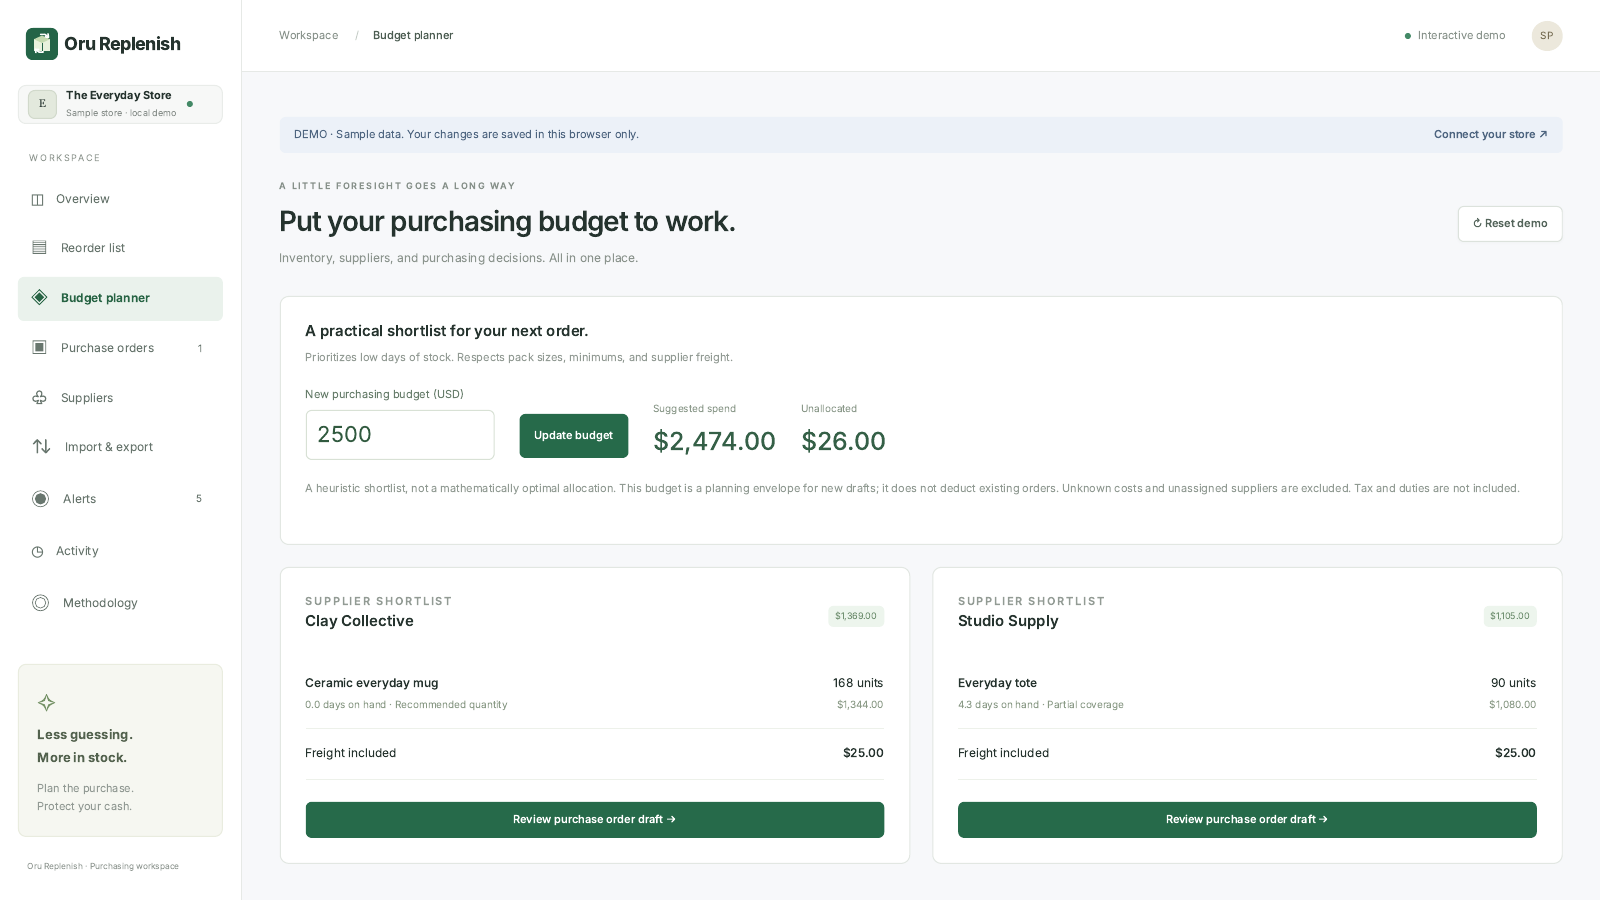
Open Budget planner, enter your new-purchase budget, and save. The app prioritizes urgent stock, fits whole packs, and respects product minimums, supplier minimum merchandise values, and freight. It is a heuristic, not an optimal allocation, and it excludes taxes and duties. Existing purchases are not deducted from this budget.
5 Record purchase orders and incoming stock
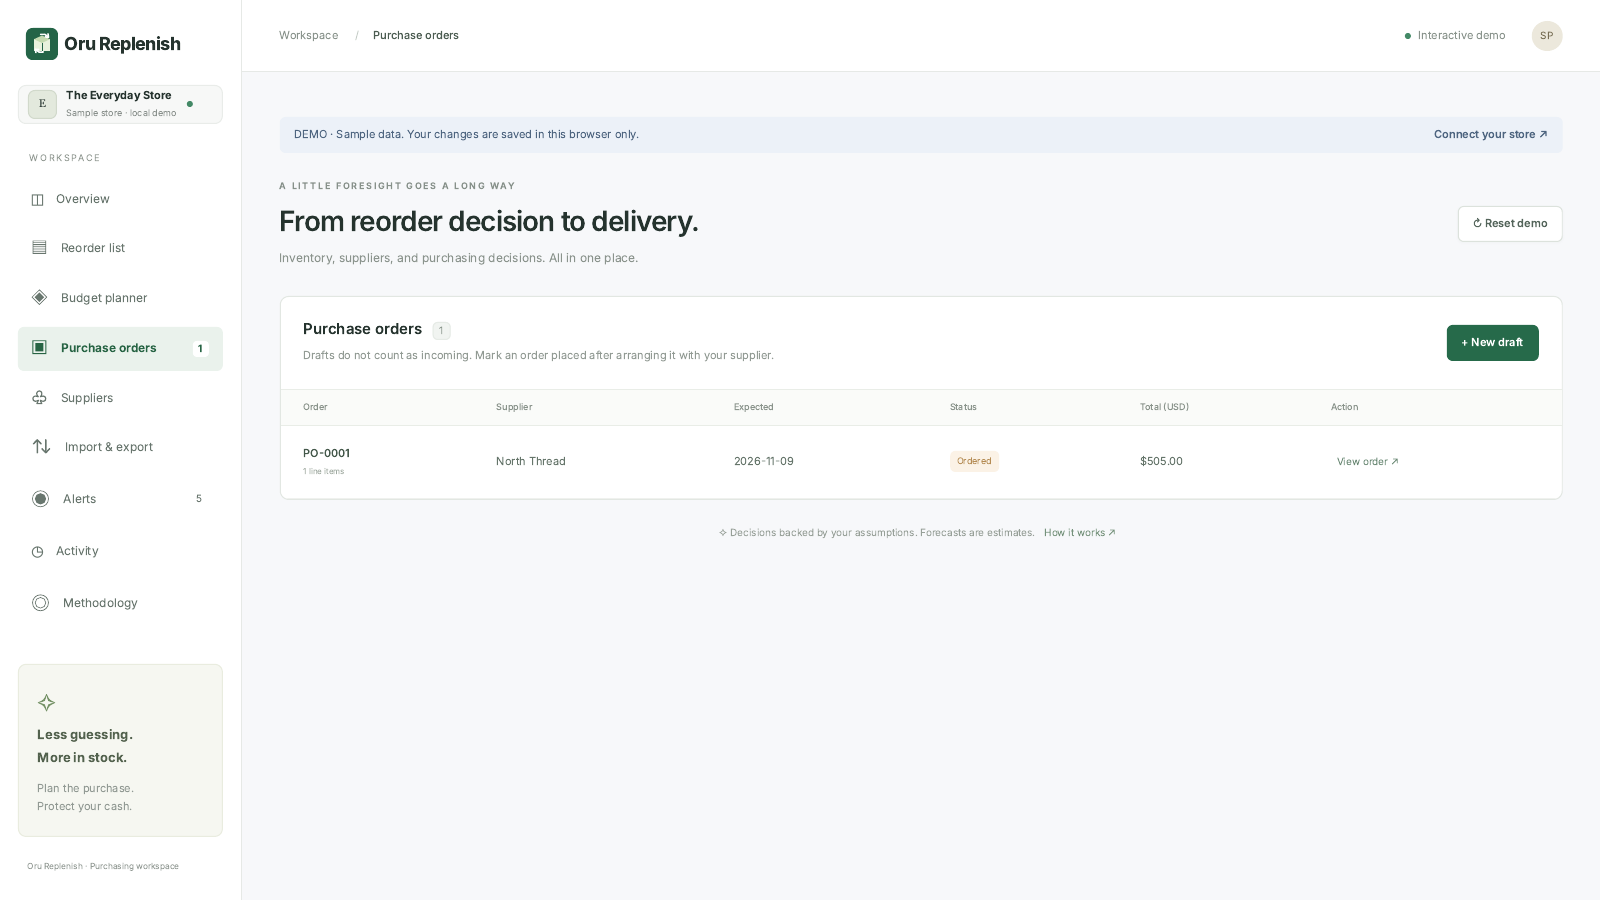
Review a supplier shortlist or open Purchase orders to create a draft. Check quantities and the expected date. Export the order and arrange the purchase with the supplier yourself. Mark it placed once arranged. Only placed orders with non-overdue dates inside the planning horizon reduce reorder suggestions.
When the full order arrives, record stock receipt directly in Shopify, refresh inventory here, and close the purchase order after confirming Shopify reflects the full received quantity. The app does not receive stock, send supplier emails, or execute payments. Partial receiving is not supported in this version.
6 Update many variants using CSV
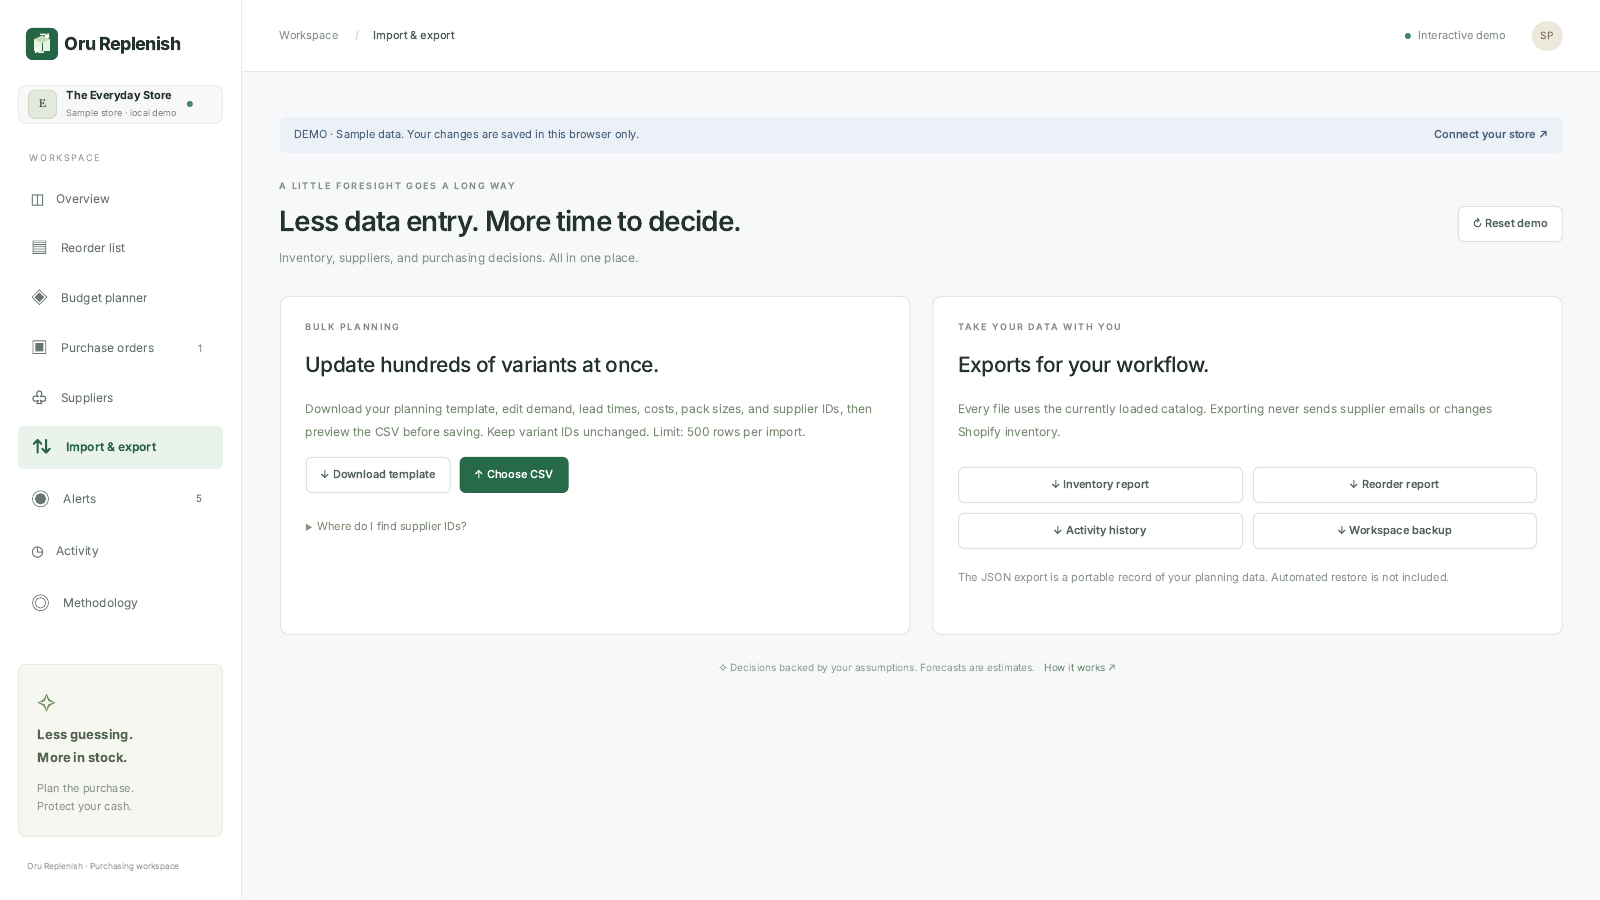
Open Import and export, download the planning template, keep its headings and variant IDs unchanged, and edit the values. Choose the CSV to see a validated preview, then apply. Every row saves together; invalid, duplicate, or unknown rows block the batch. Limit each import to 500 rows and 1 MB.
7 Review alerts and keep records
Alerts highlight shortages, overdue purchases, missing demand, and incomplete purchasing details. They are in-app alerts, not background emails. Activity records the latest 300 workspace changes in UTC. Export inventory, reorder lists, individual orders, activity, or a JSON workspace backup for your own records.
Understand your forecast
Days of stock uses current on-hand coverage. Suggested quantities include eligible incoming purchases, minimum units, and pack rounding. Sales at risk is potential gross sales exposed during lead time, not measured lost revenue or profit. Review Methodology inside the app for formulas and limitations.
Manage plans and get help
Use Manage plan in Shopify for subscription approval, upgrades, or downgrades. Plan changes do not delete existing records, but new record creation follows the current limits. Contact naimkst@gmail.com for assistance.